Is managing your receipts becoming a headache? Do you find yourself overwhelmed by a large volume of receipts, both in paper and digital format? Whether you’re sorting through a pile of paper receipts or trying to extract receipt data from digital scans, the process can be time-consuming and prone to errors.
Fortunately, there’s a way to simplify this process. Scanning and converting your receipts into a structured digital format can save time and improve efficiency. Google Sheets is an excellent tool for organizing and analyzing your receipt data, making it easier to track expenses and manage your expense reporting.
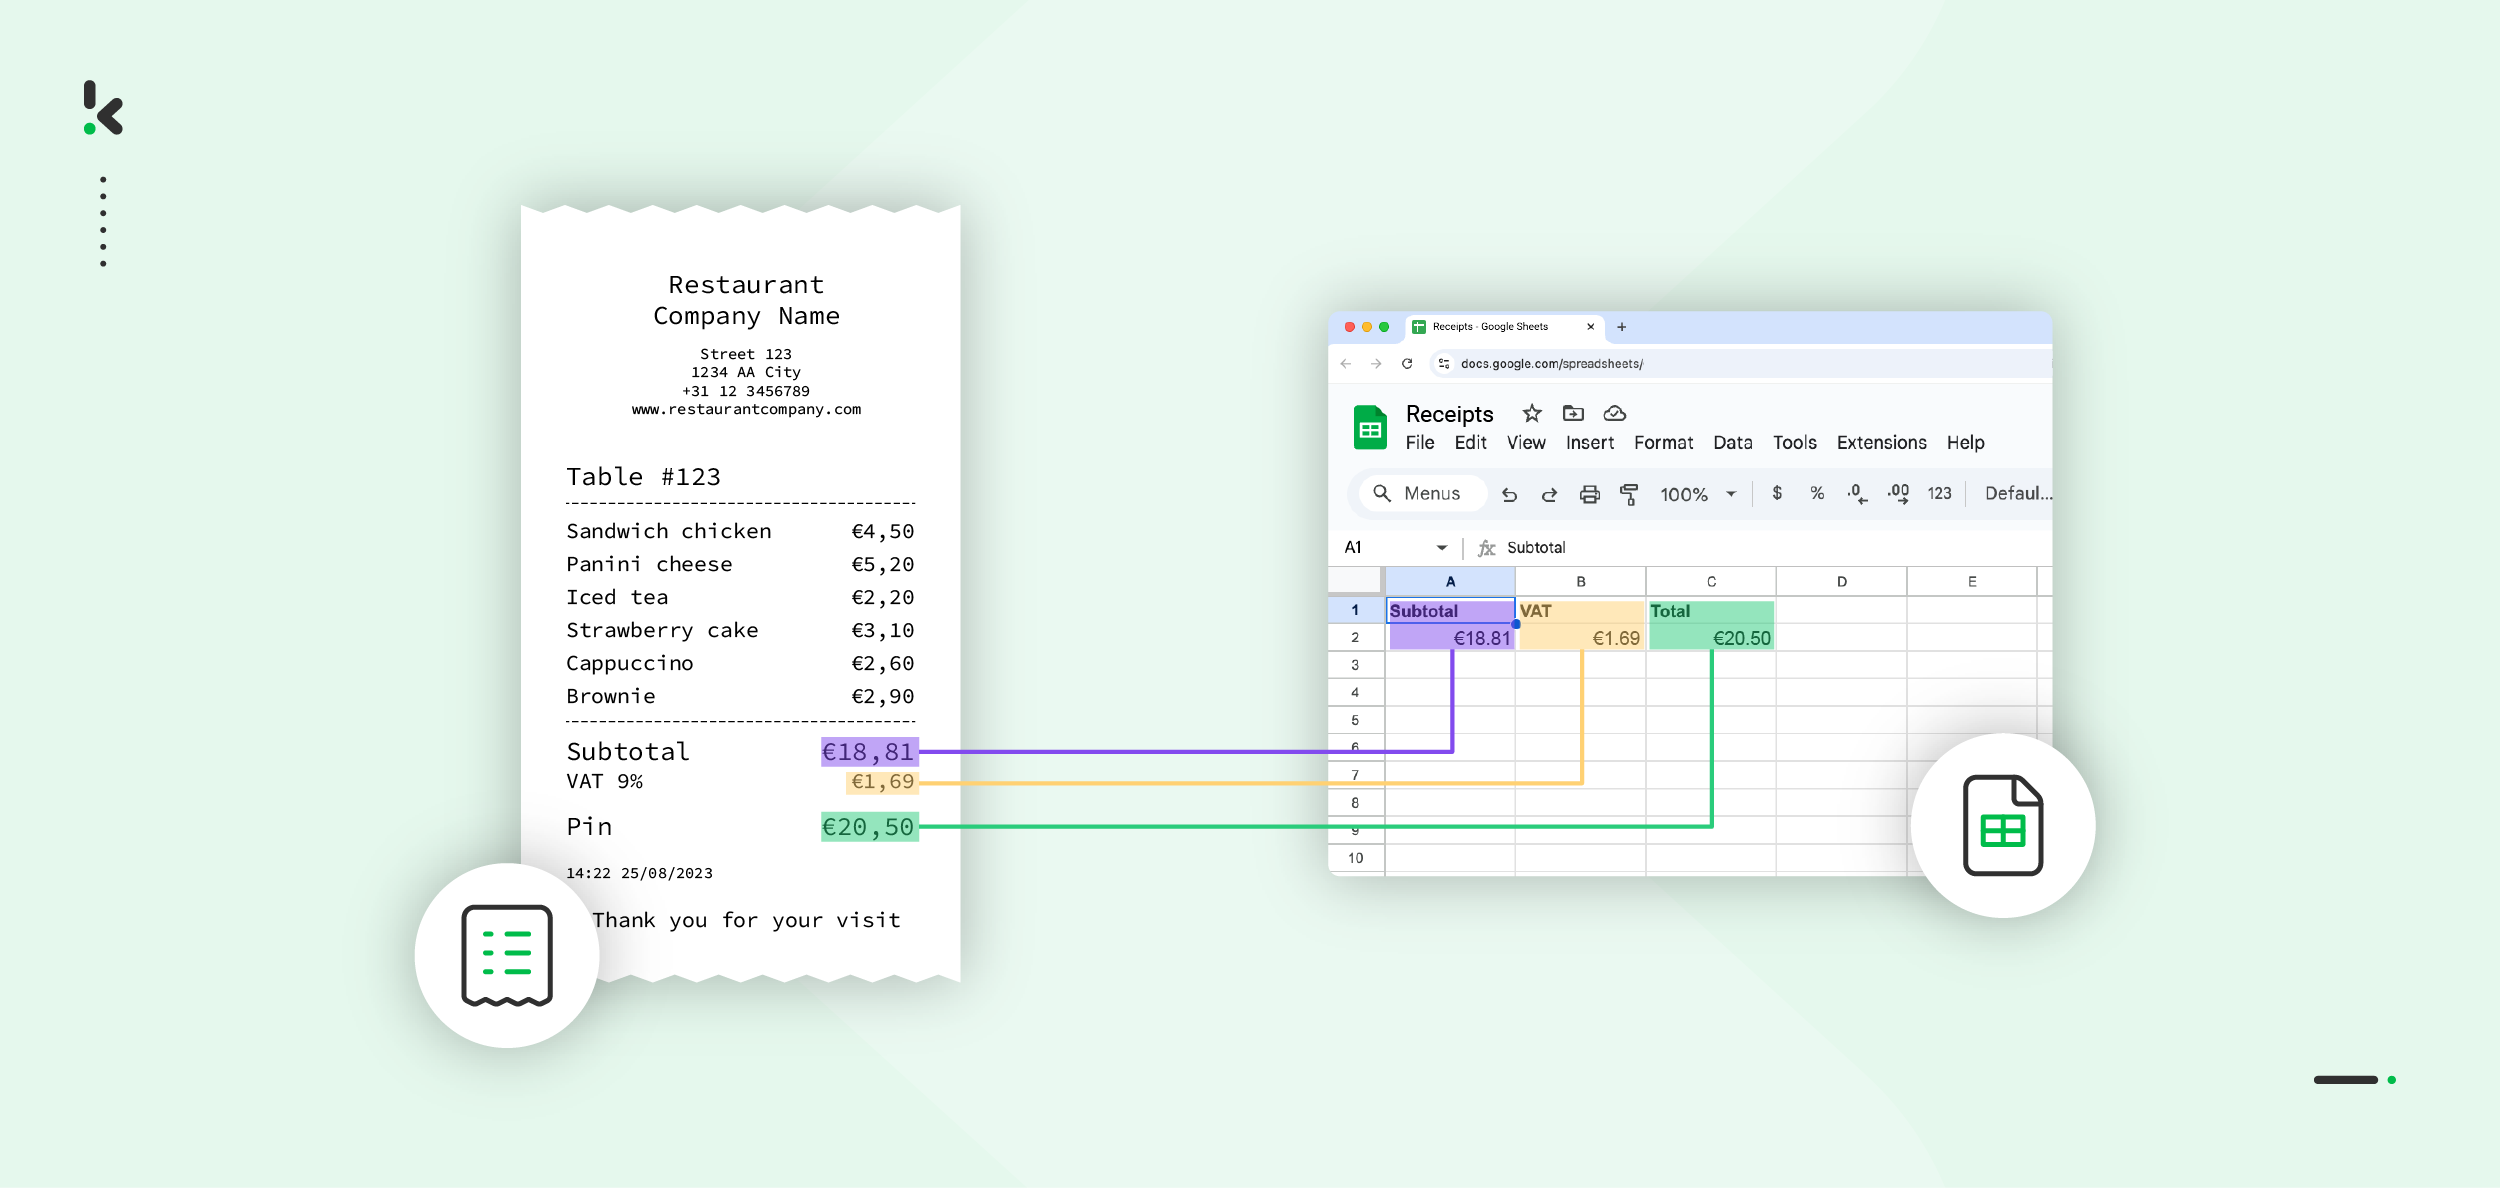
In this blog, we’ll guide you through the process of scanning and saving receipts in Google Sheets to streamline your workflow and make managing your finances easier. Let’s get started!
Free Online Tools for Document Scanning and Conversion
Whether you need to scan physical documents into digital formats or convert receipts into structured data for Google Sheets, free online tools can make the process efficient and fast. If you’re looking for no-cost solutions to streamline your workflows, below you’ll find some good options for both tasks.
Free Online Tools for Scanning Documents
If you need to scan physical documents to digital format, these are some free tools worth considering:
Scanning documents is step number one. Next, you want to forward the data to Google Sheets. Let’s explore some of the free options available.
Free Online Tools for Converting Receipts to Google Sheets
There are several methods to save data from your digital documents in Google Sheets but they require a specific document type like PDF, PNG, or Word files. Each document type may require a different tool or process for conversion. Let’s take a look at some examples.
1. Google Docs
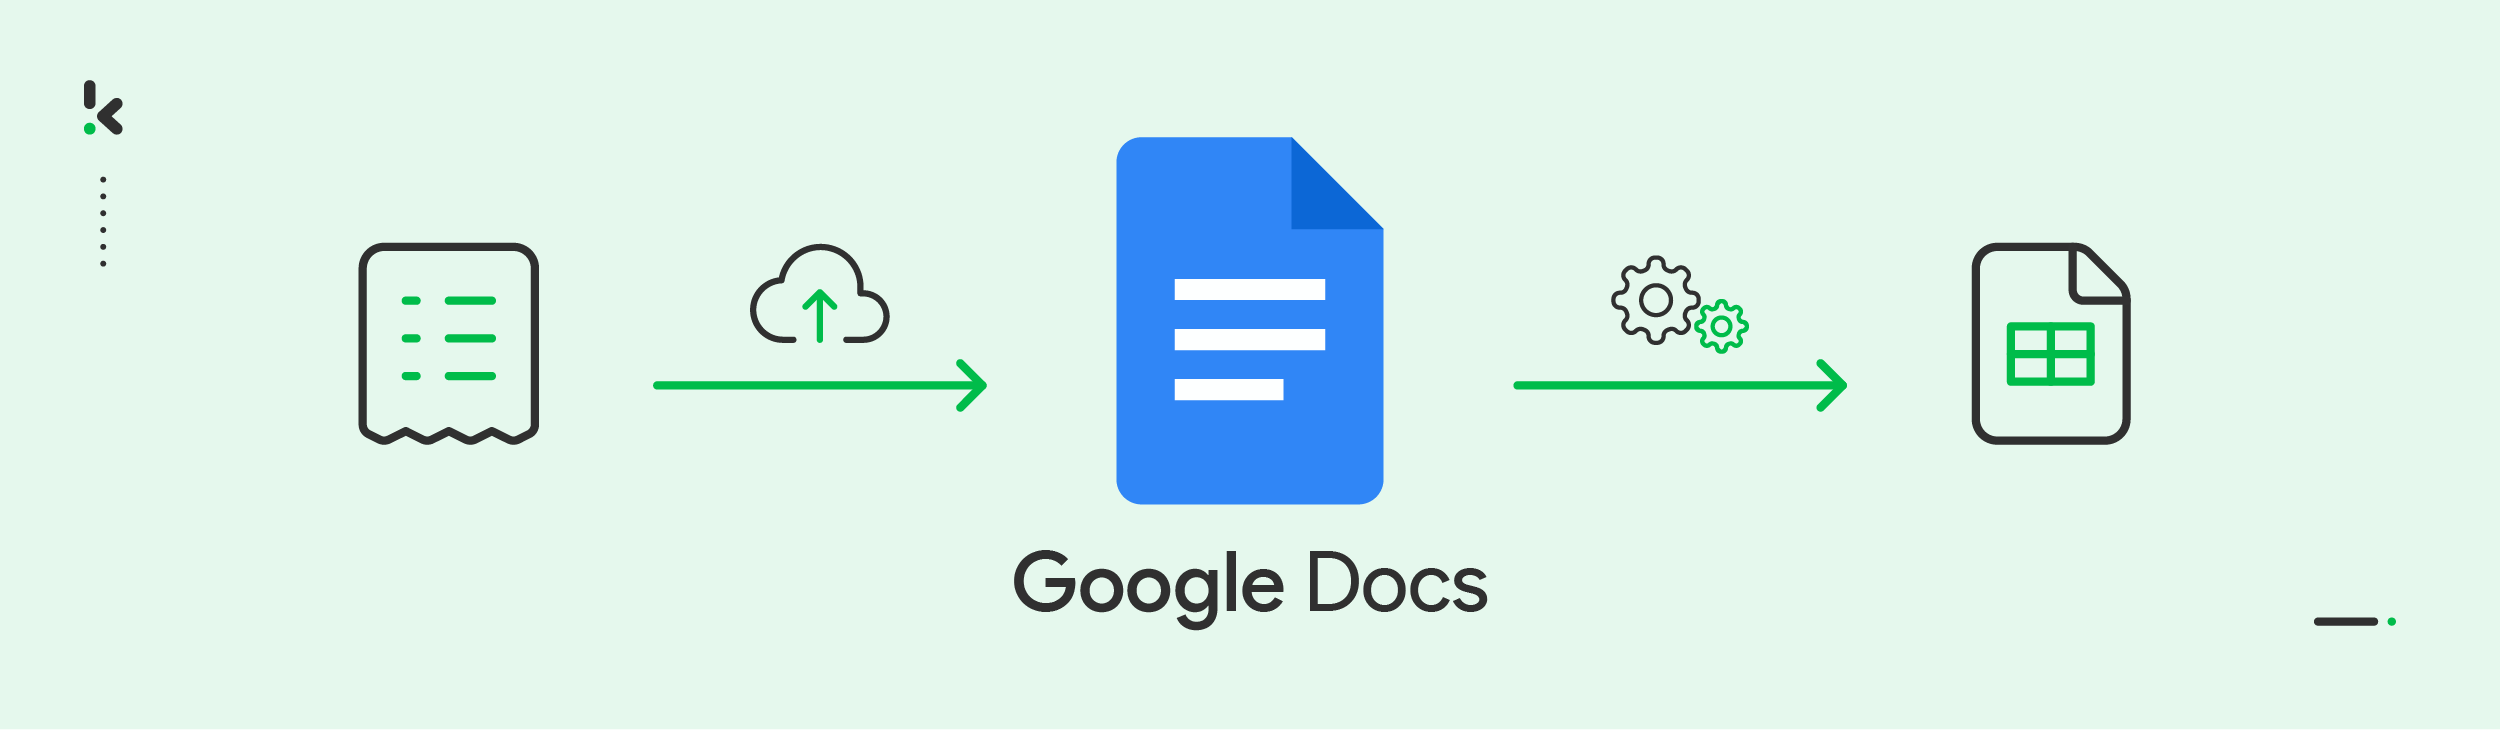
This is the simplest way to convert a document type to Google Sheets, using Google Docs as an intermediary. While this process is tailored for PDFs, the steps for other document types are quite similar.
- Upload the PDF to your Google Drive.
- Right-click on the file and select Open with → Google Docs.
- Google Docs will automatically use OCR to convert the PDF into an editable document.
- Copy the data you need from the Google Doc.
- Paste the data into a new Google Sheets file.
2. Image to CSV
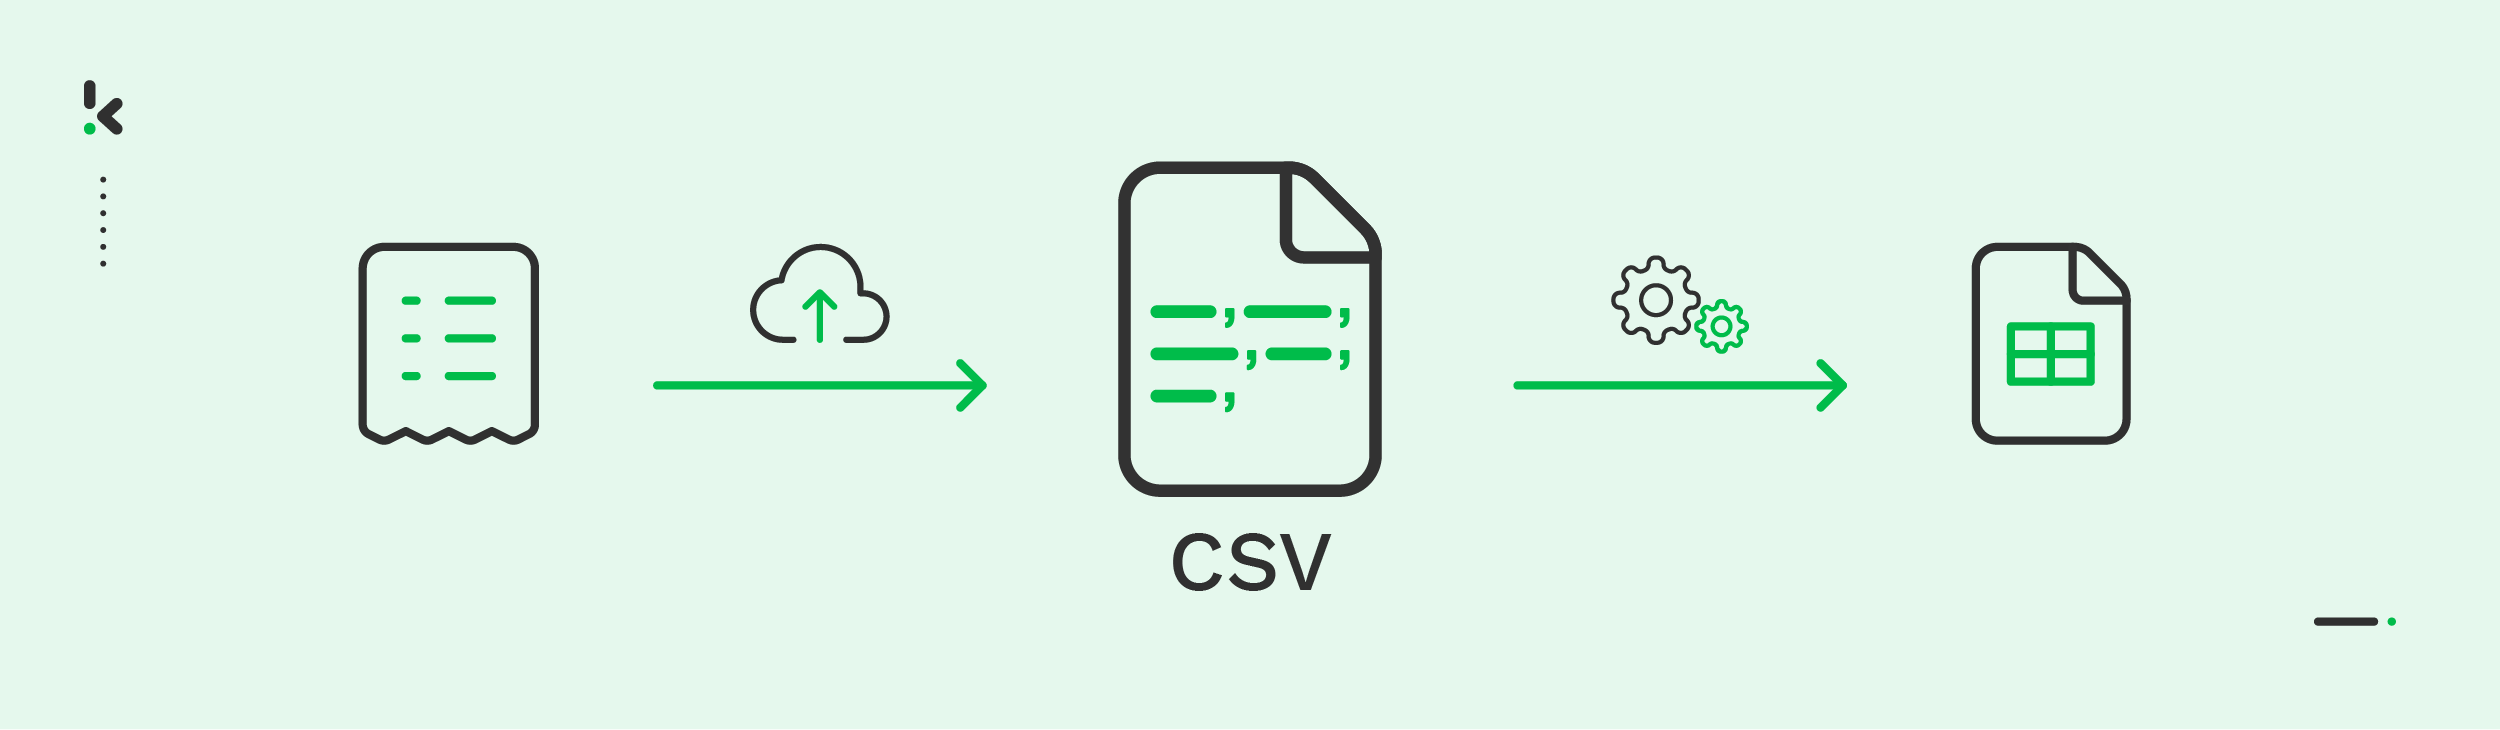
With this method, a file can be converted to CSV and then imported to Google Sheets. Here’s how you can do it with a PNG file, but keep in mind that the process for other document types is similar.
- Use an online PNG to CSV tool (e.g., iconverter.com, Konbert)
- Upload your PNG and convert it to CSV
- Download the CSV file to your computer
- Open Google Sheets and go to File → Import
- Select the CSV file and adjust the import settings (e.g. separator type)
- Your PNG data will now appear in Google Sheets
3. Add-ons
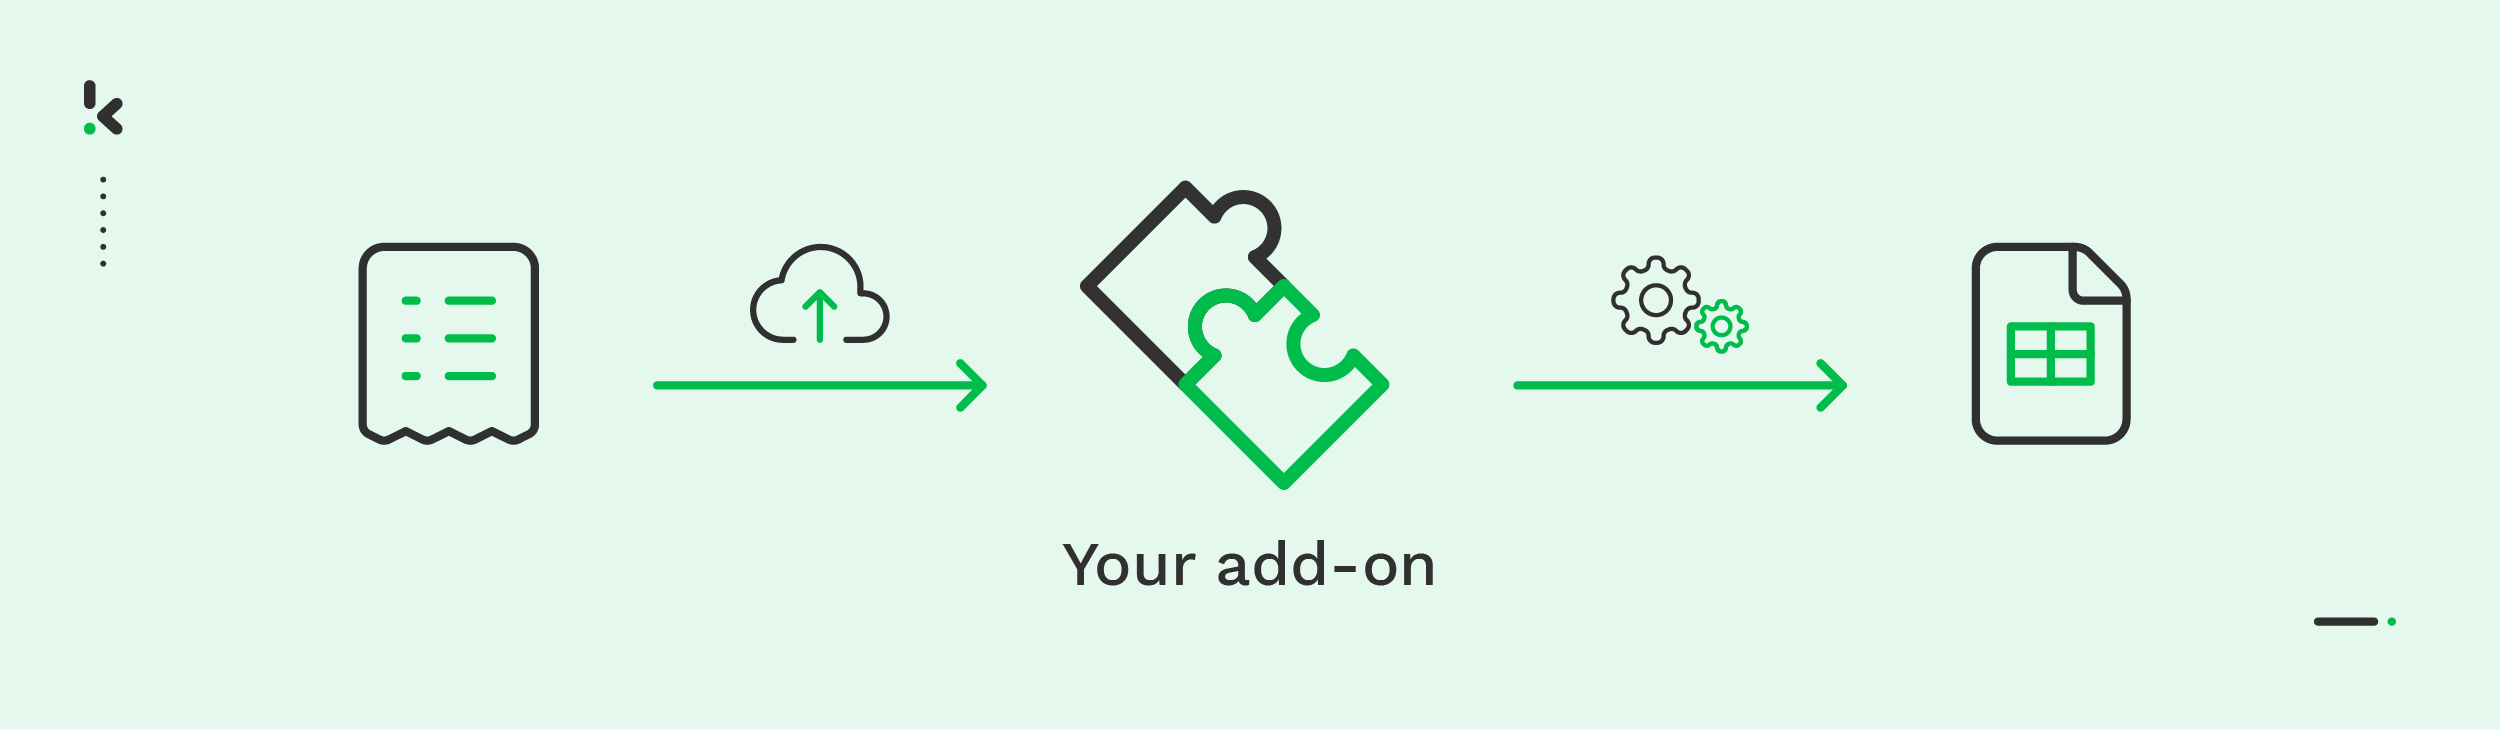
Add-ons are another way to easily convert PNG files to Google Sheets. Some add-ons such as Google Docs OCR and PDF Table Extractor work directly with Google Sheets. While PDF Table Extractor is primarily designed for PDFs, it also supports extracting data from PNG documents. Let’s explore how this process works with the PDF Table Extractor.
- Add the PDF Table Extractor add-on:
- In Google Sheets, go to Add-ons → Get add-ons and install PDF Table Extractor.
- Upload your PNG files:
- Upload your PNG file to Google Drive.
- Open with PDF Table Extractor:
- In Google Drive, right-click on the PNG file and select Open with → PDF Table Extractor.
- Copy and Paste into Google Sheets:
- Copy the extracted data and paste it into your Google Sheets.
While free online tools are a good solution for businesses dealing with a small number of documents, they’re not suitable for large-scale operations. They often have file size restrictions, making it difficult to process larger PNG files, and their accuracy is challenged due to low-quality images.
Additionally, most no-cost solutions don’t support bulk processing and offer limited customization options, which are important features for mid-sized to large companies. These restrictions can lead to inefficiency and frustration in the long run.
Premium solutions, like Klippa DocHorizon, are built to overcome the limitations of free tools. Designed to offer advanced features, enhanced security, and reliable customer support, they aim to ensure smooth and secure workflows that help boost productivity and accuracy.
How to Scan and Save Receipts in Google Sheets with Klippa
Klippa DocHorizon is here to help you scan and convert your receipts or any other document type into Google Sheets.
In this section, we’ll walk you through the steps for scanning and converting your receipts into Google Sheets. For simplicity, we’ll demonstrate how to save receipts in a PDF format to Google Sheets. However, it’s important to note that the platform supports a wide range of document formats, offering flexibility to accommodate various use cases.
Step 1: Sign up on the platform
The first step in this easy and fast process is to sign up for free on the DocHorizon Platform. Simply enter your email address, and password and then provide some details like full name, company name, use case, and volume. Once you’ve completed this step, you’ll receive €25 in free credits to explore all the platform’s features and capabilities.
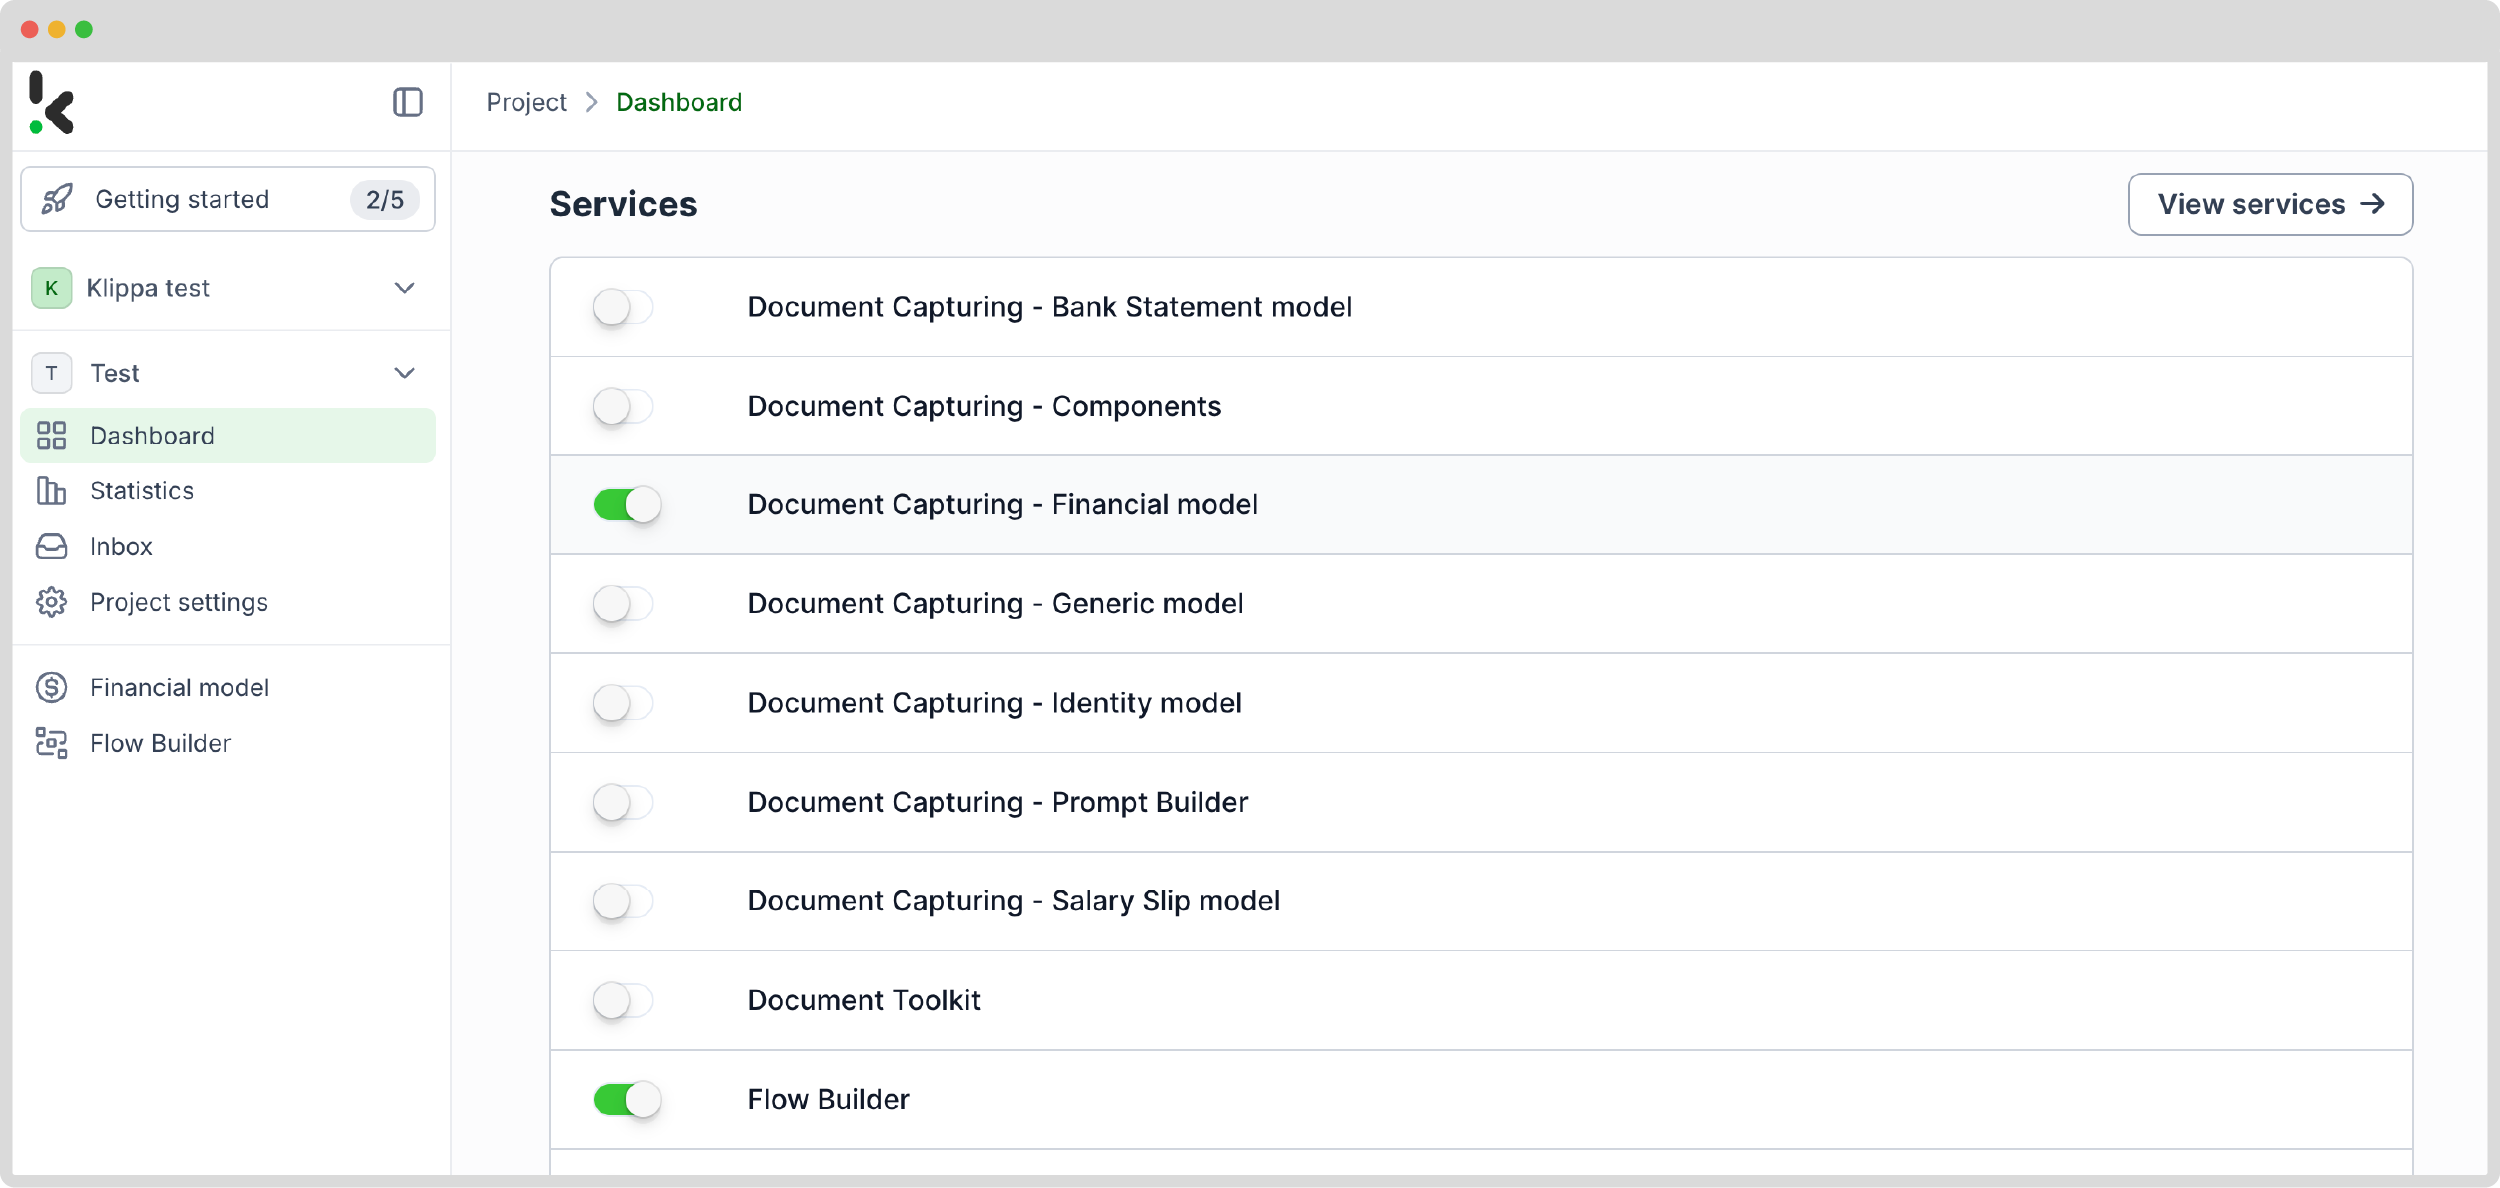
After creating your account, you’ll need to create an organization and set up a project to access our services. For this use case – saving PDF receipts in Google Sheets – simply enable the Flow Builder and Financial Model services to get started. This setup ensures you have everything you need right from the start!
Step 2: Scan and upload your receipts
Before starting your workflow, it’s essential to digitize all your receipts. You can use any mobile device, like your phone. However, with Klippa’s mobile scanning SDK, this process becomes much easier and more efficient, thanks to advanced features like AI-powered image processing that offer enhanced image detection.
Once scanned, the images can be saved to a folder or Google Drive, based on your organization’s preferences. For this example, we will use Google Drive to demonstrate the process.
Step 3: Create a preset
You might wonder why we’ve chosen to enable the Financial Model over other options. The Financial Model is designed to streamline your financial workflows by automating the extraction, analysis, validation, and classification of data. It efficiently processes a wide range of financial documents, including invoices, purchase orders, bank statements, and more.
Once activated, you can create a new preset. Let’s name it “Receipts to Google Sheets”. This preset lets you activate the components you need for your specific use case. For this case, let’s enable the financial and line item components to process fields like transaction number, products purchased, and amount.
Here’s a tip: You have the choice to customize the preset further depending on your use case by enabling more components such as Date Details, Reference Details, Amount Details, Document Language, Payment Details, etc.
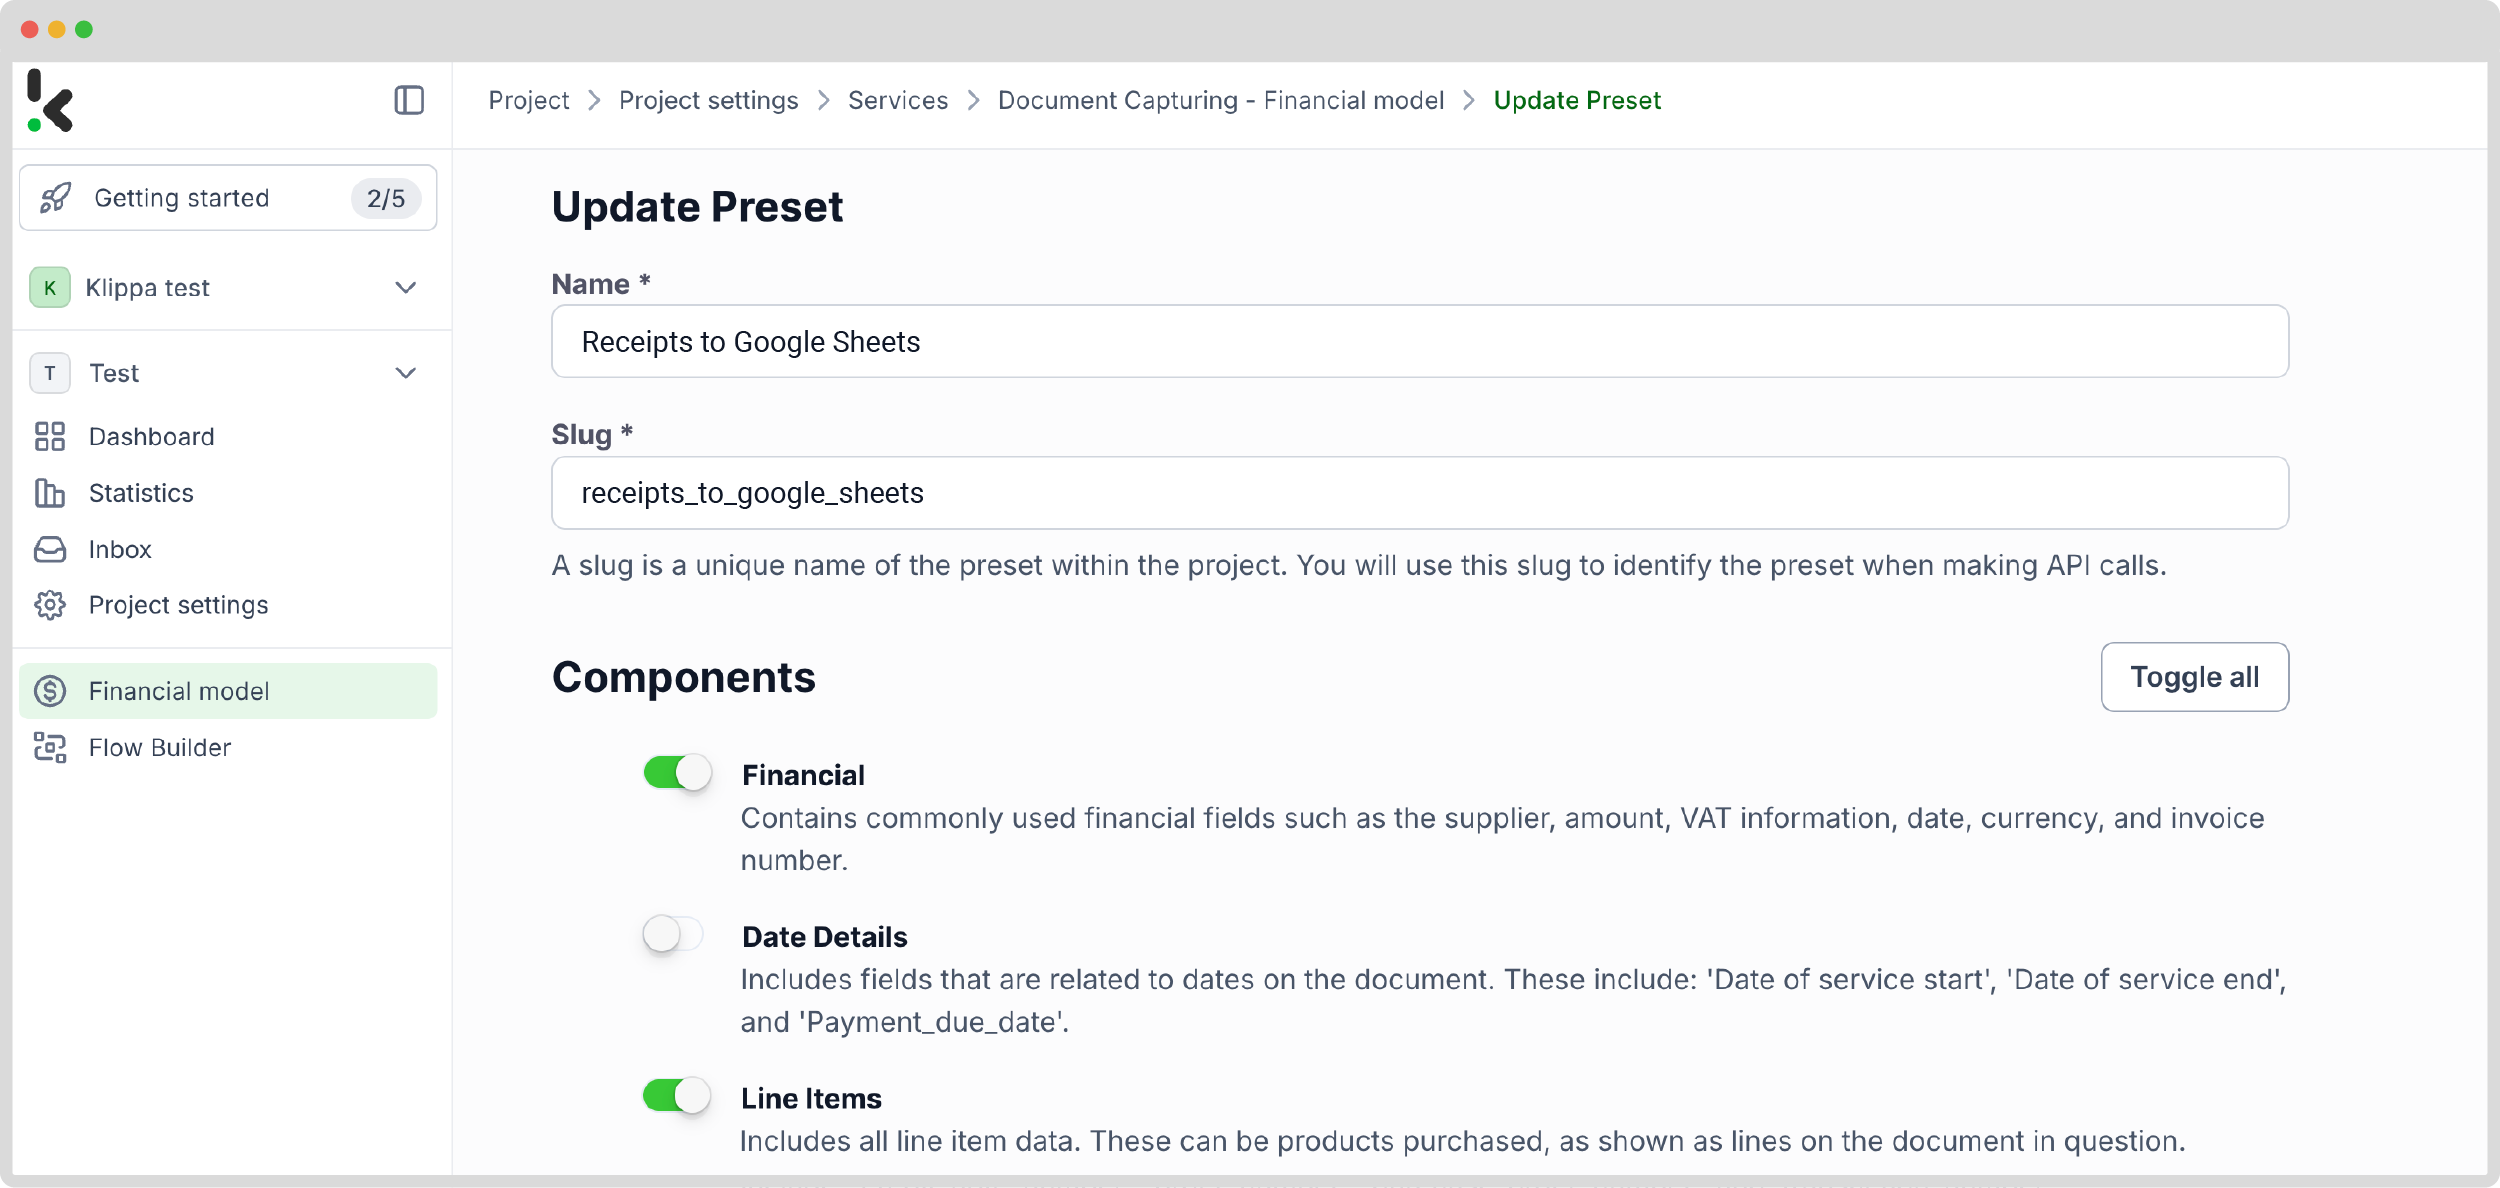
You’re almost done! Click “Save” to finalize your settings and you’ll be ready for the next step.
If you’d like to fully automate the process – taking documents from a folder, processing them through the system, and storing the results – you’ll need to take a few additional steps using the Flow Builder.
Step 4: Select your input source
After creating your preset and enabling the Flow Builder, it’s time to build your flow. A flow is essentially a sequence of steps that define how your PDF or other format receipts are processed and converted into Google Sheets.
Click New Flow → + From scratch and assign your flow a name. We’ll name the flow “Convert Receipts to Google Sheets”.
Here’s a tip: The first step in building your flow is selecting your input source. You have several options: you can upload files directly from your device or connect to over 100 external sources, including Google Drive, Dropbox, Outlook, Box, Salesforce, Zapier, OneDrive, your company’s database, or cloud storage solutions like Amazon S3 and iCloud. Make sure to place all receipts in the same folder so they can be processed in bulk if needed.
For this example, you’ll create a folder named “Input” in Google Drive and upload your receipts there.
Next, choose your input source by selecting “Google Drive” and then “New File” as your trigger. This is going to start your flow. On the right side, fill out the following sections:
- Connection: You can assign any name to your connection. For instance, we’ve named ours “google-drive”. Once named, the system will prompt you to authenticate with Google.
- Parent Folder: Input
- Include File Content: Check this box to ensure file content is processed.
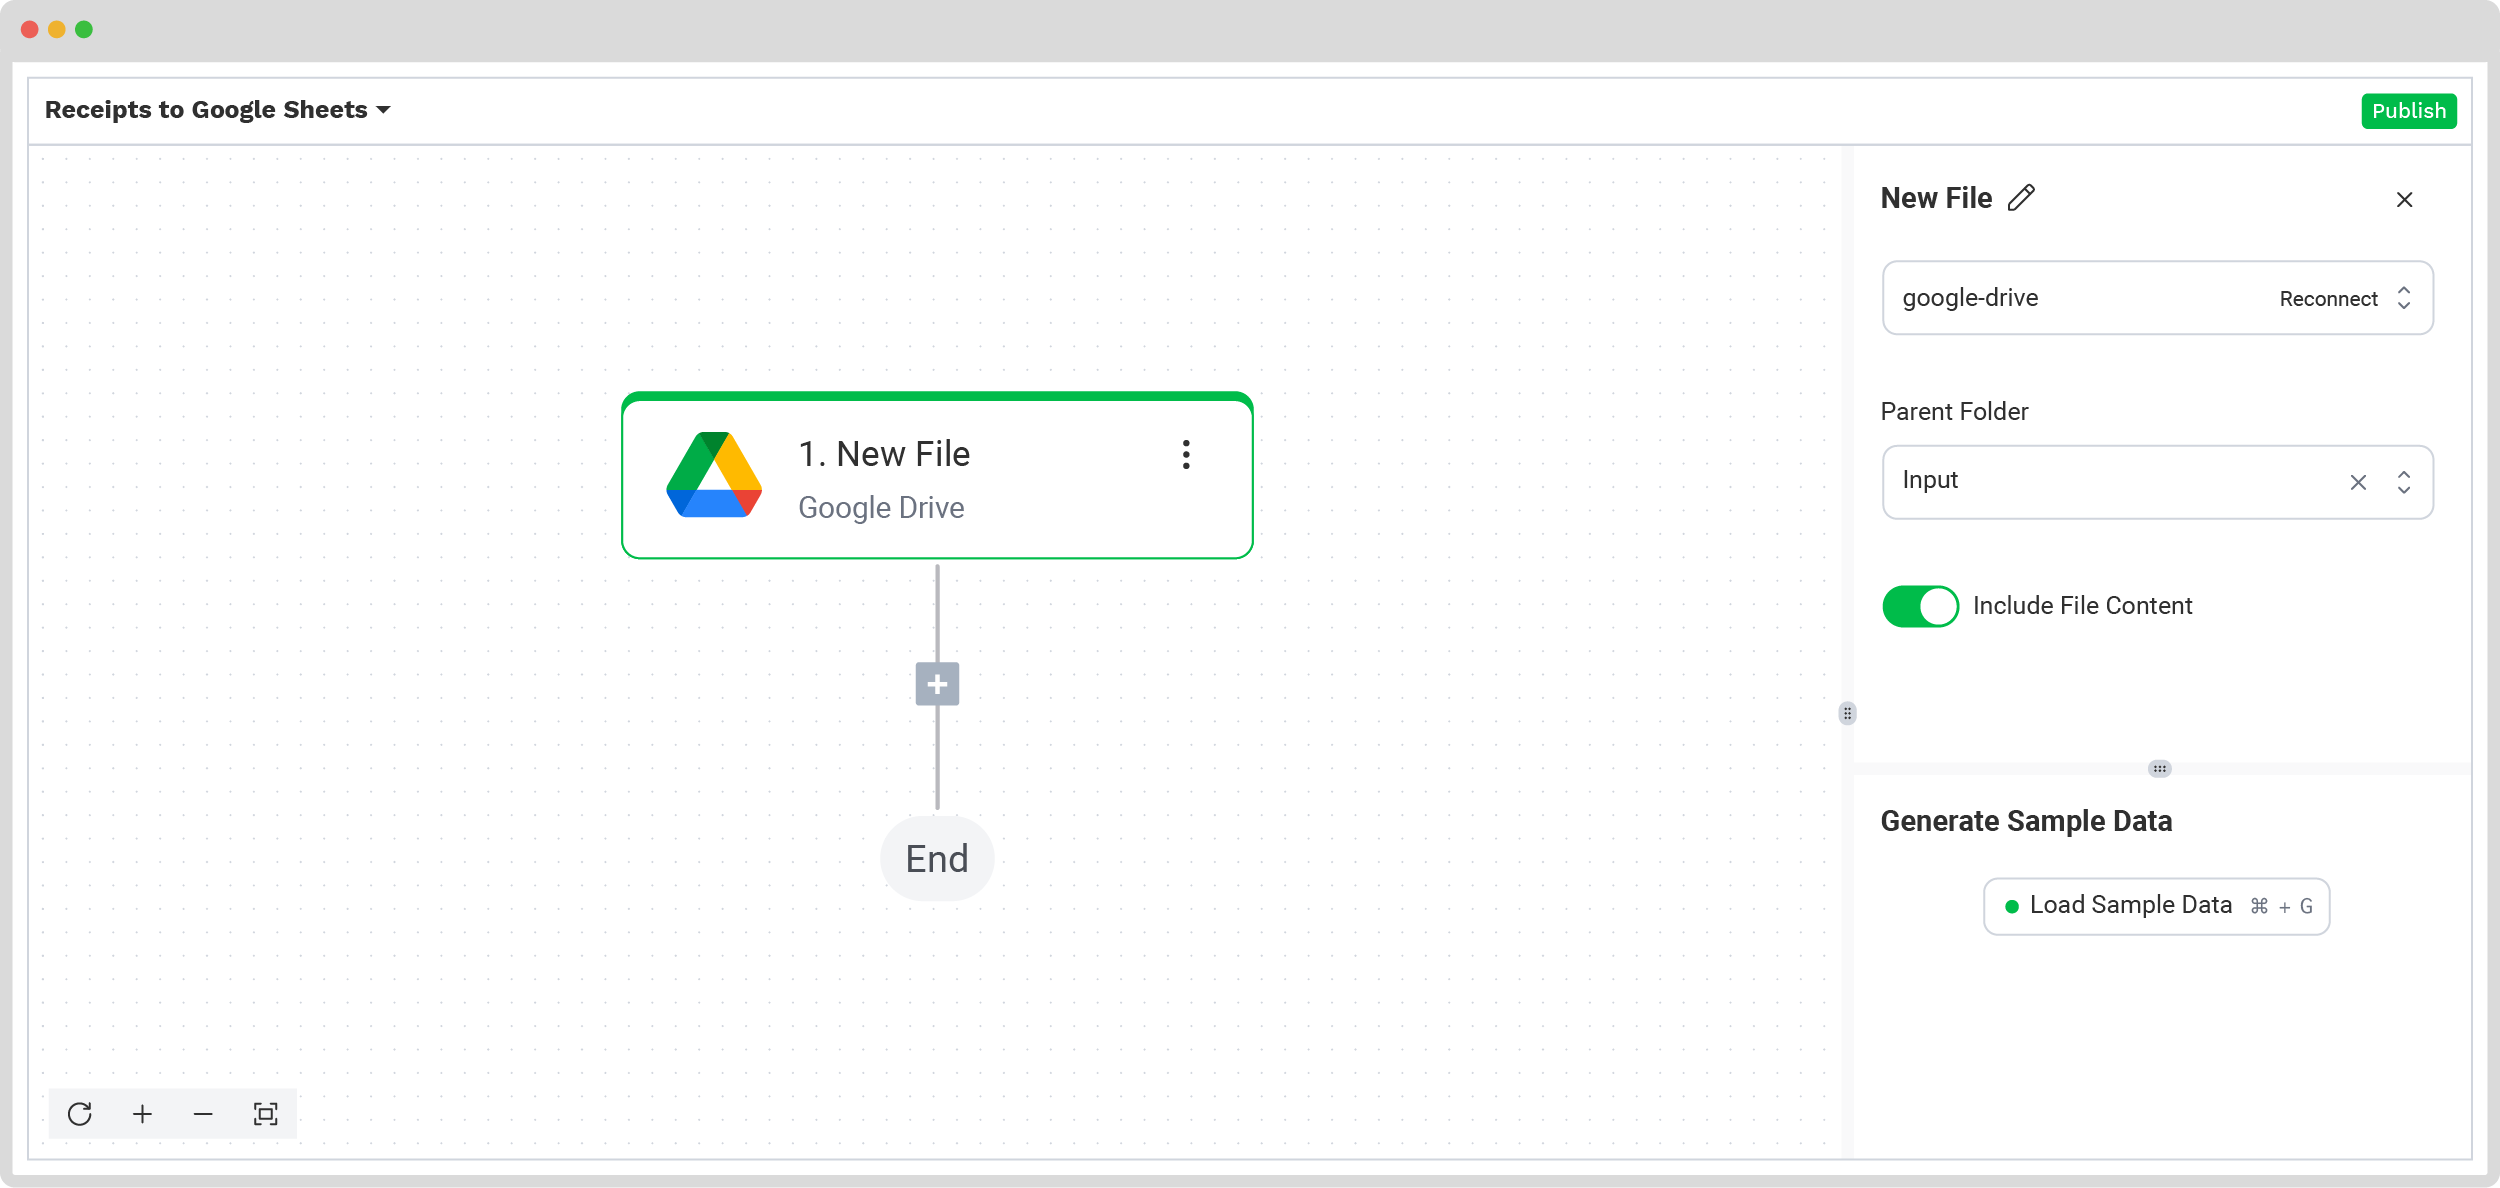
Test this step by clicking on Load Sample Data: remember to have at least one sample document in your input folder while setting up your flow.
Here’s a tip: Since the platform supports a wide range of document types to meet all business needs, you can check our comprehensive documentation to learn more.
Step 5: Capture and extract data
Now, it’s time to extract the necessary data by using the previously created preset to process all the selected data fields from the receipts in the input folder.
In the Flow Builder, press the + button and choose Document Capture: Financial Document.
To proceed, configure the following:
- Connection: Default DocHorizon Platform
- Preset: The name of your preset (in our case “receipts_to_google_sheets”)
- File or URL: New file → Content
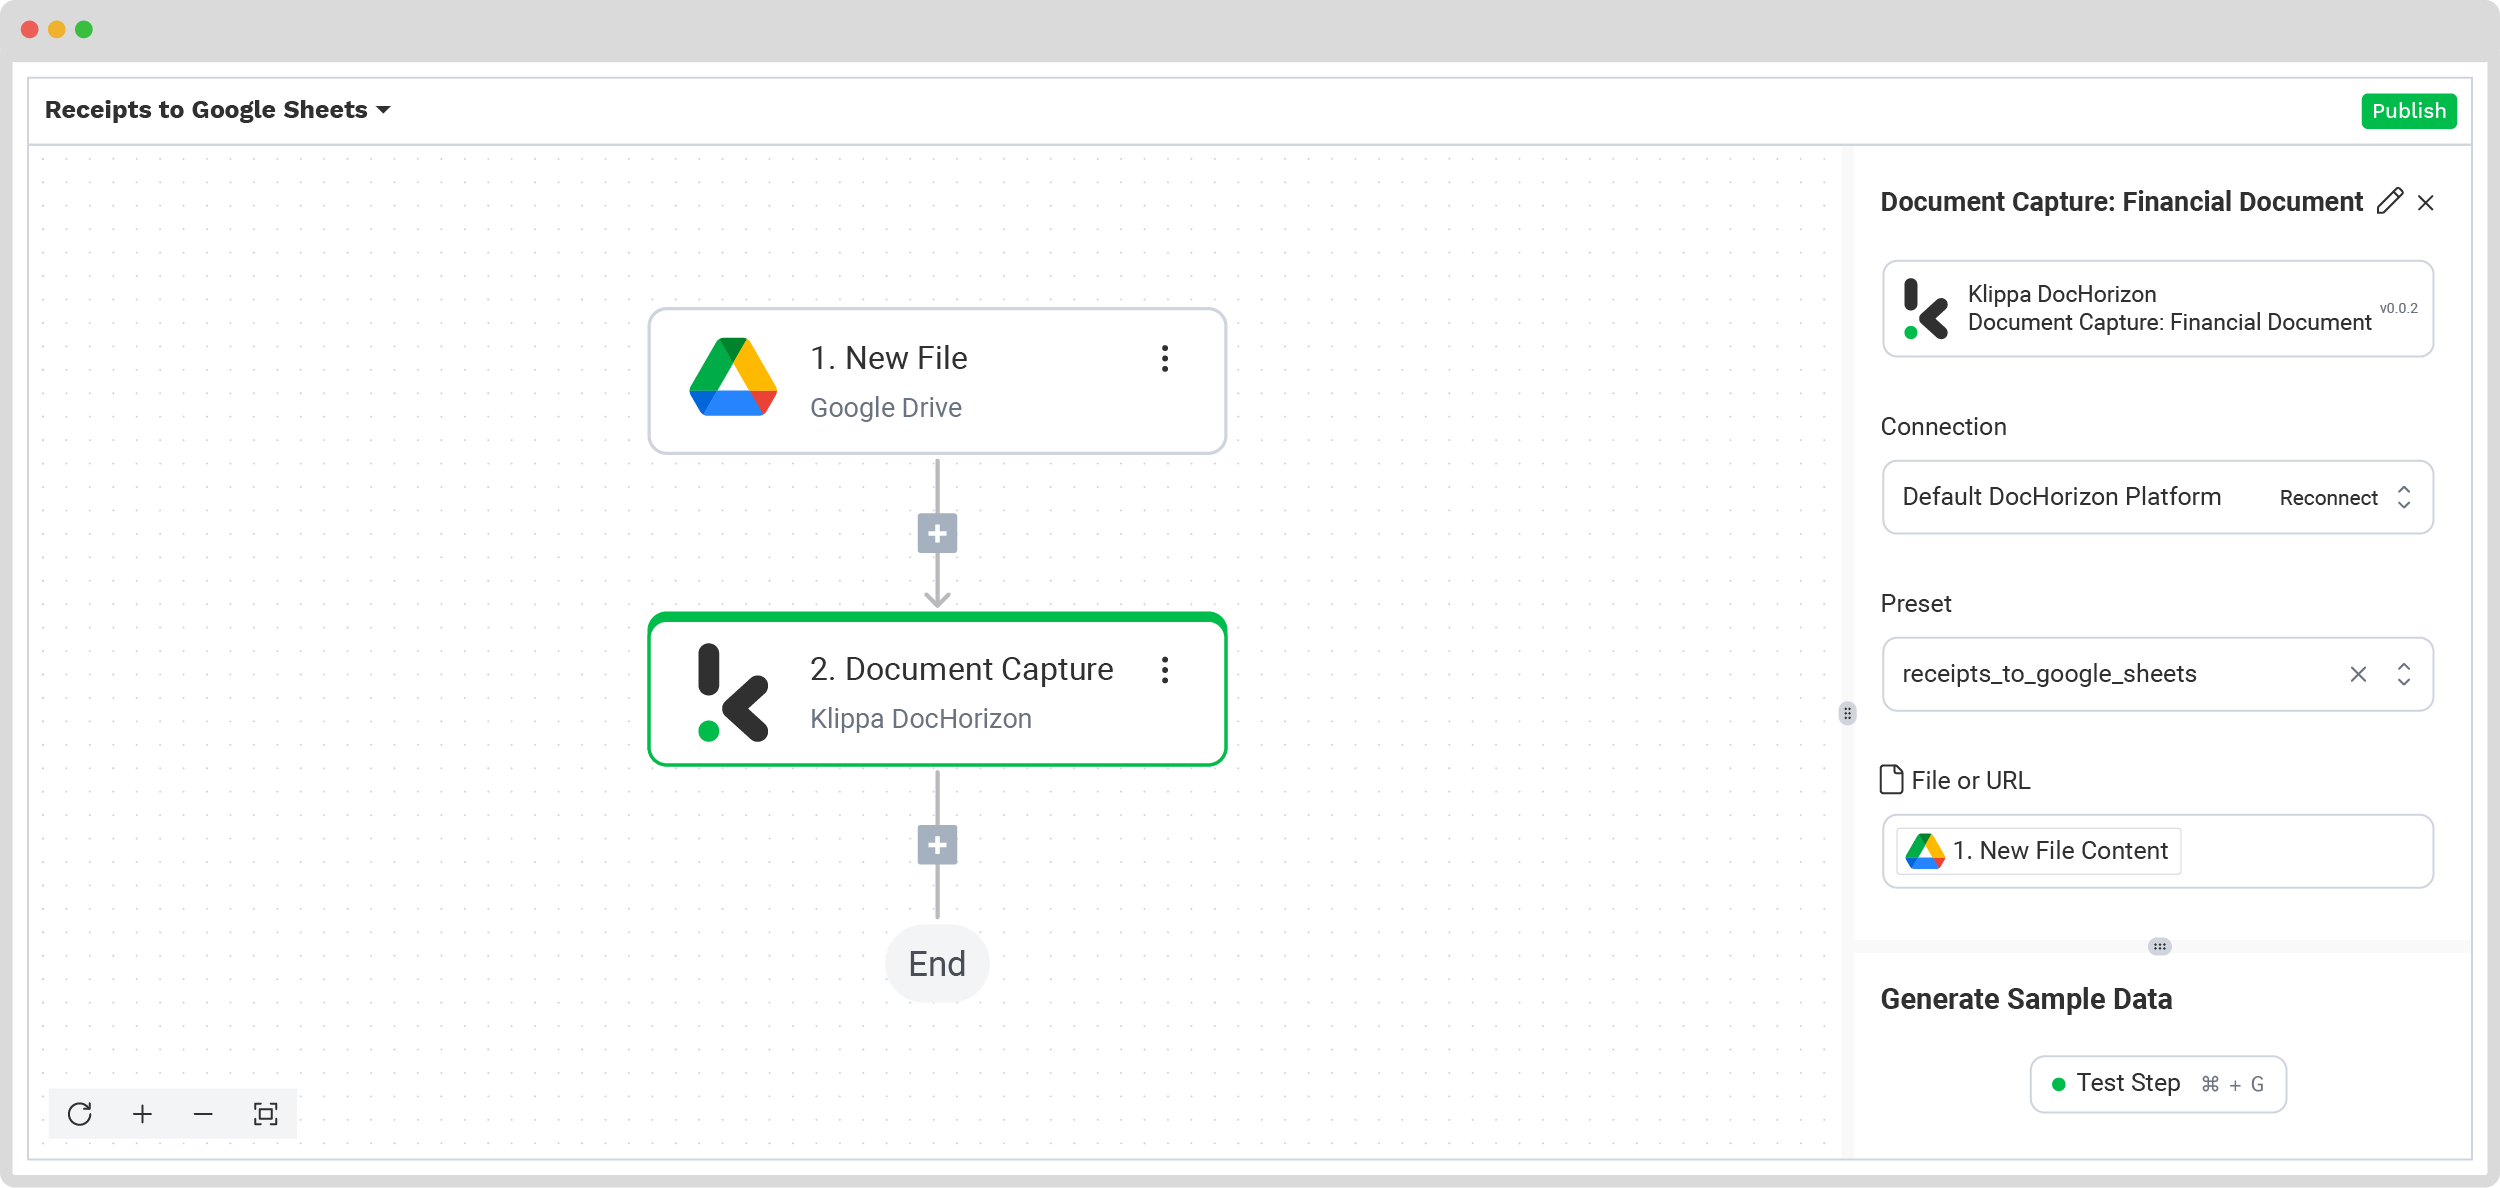
Then, test the step to ensure everything is working correctly. Once the test is successful, you’re ready to move on to the next step: saving your results!
Step 6: Save the file
Once the receipts are processed, you can choose how to handle the results. In this case, you can compile them into a Google Sheet that you’ve already set up, named “Receipts to Google Sheets”.
To proceed, follow these steps in the Platform:
- Select Google Sheets from the search bar and choose Insert Row.
- On the right side, fill in the following fields:
- Connection: google-sheets
- Spreadsheet: Receipts to Google Sheets (the name of your output file)
- Sheet: Select a Sheet (in our case is Sheet1)
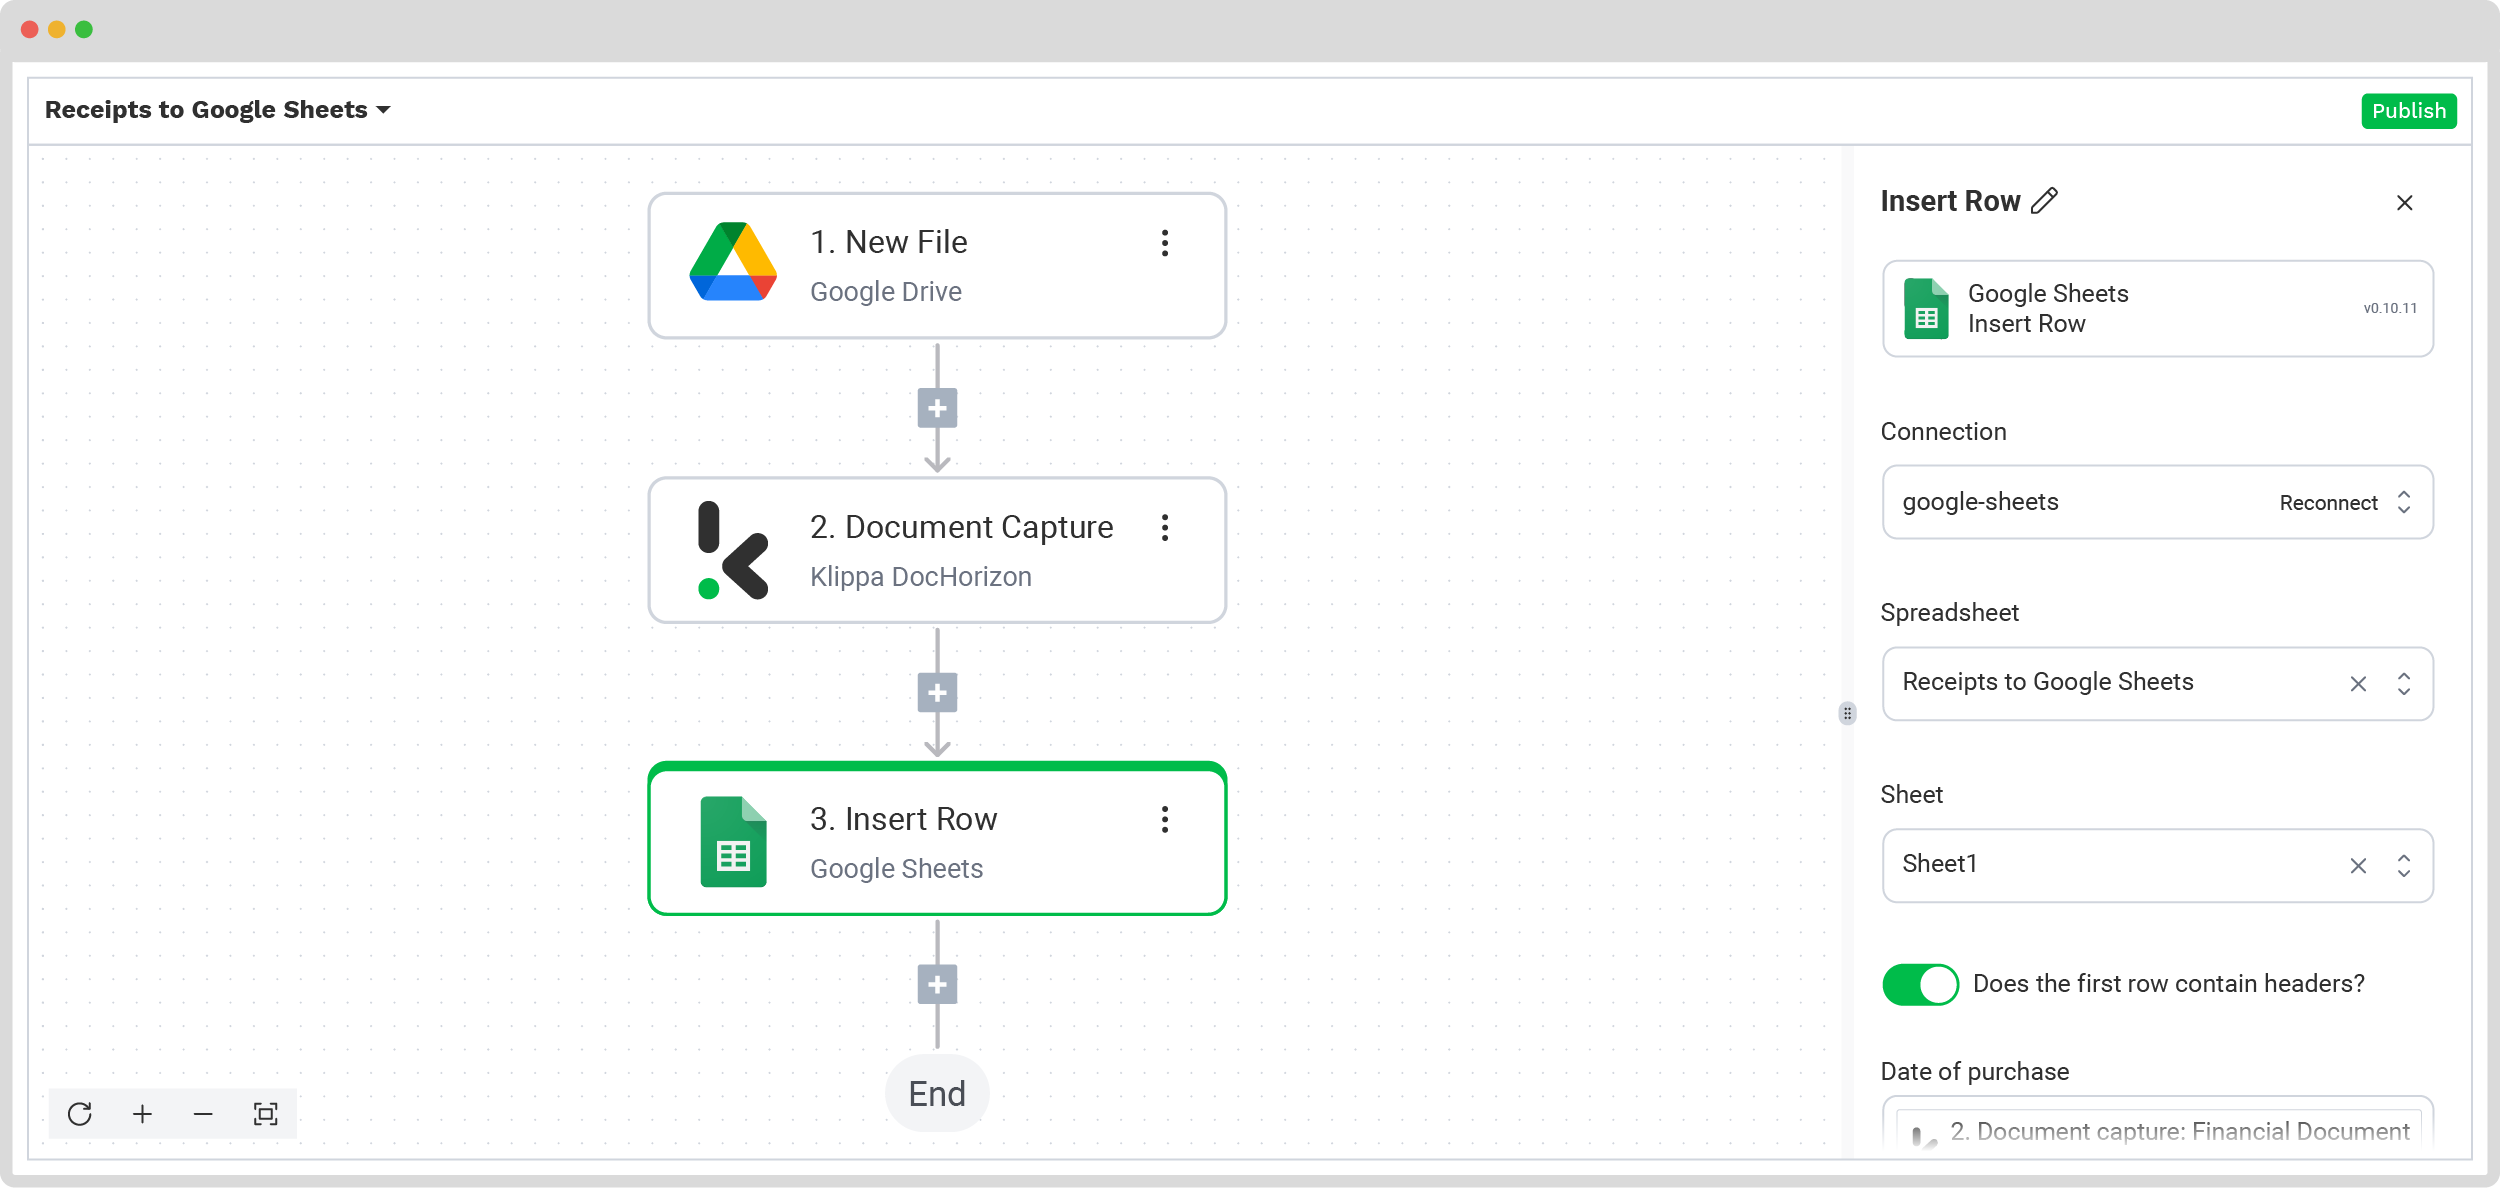
Tip: If you’ve created an output sheet with headers, then enable the “Does the first row contain headers?” option to let the platform know that row 1 is occupied.
If you’ve followed this tip, you’ll then see another section with the name of the headers in your output file. In our case, the names are: Date of purchase, name of the store or vendor, and total amount paid
Let’s start with the date of purchase: in the Data Selector open Document Capture: Financial Document → components → financial → document date.
Follow the same steps for the other two header sections.
- For the name of the store or vendor: in the Data Selector open Document Capture: Financial Document → components → financial → merchant.
- For total amount: in the Data Selector open Document Capture: Financial Document → components → financial → insert total amount.
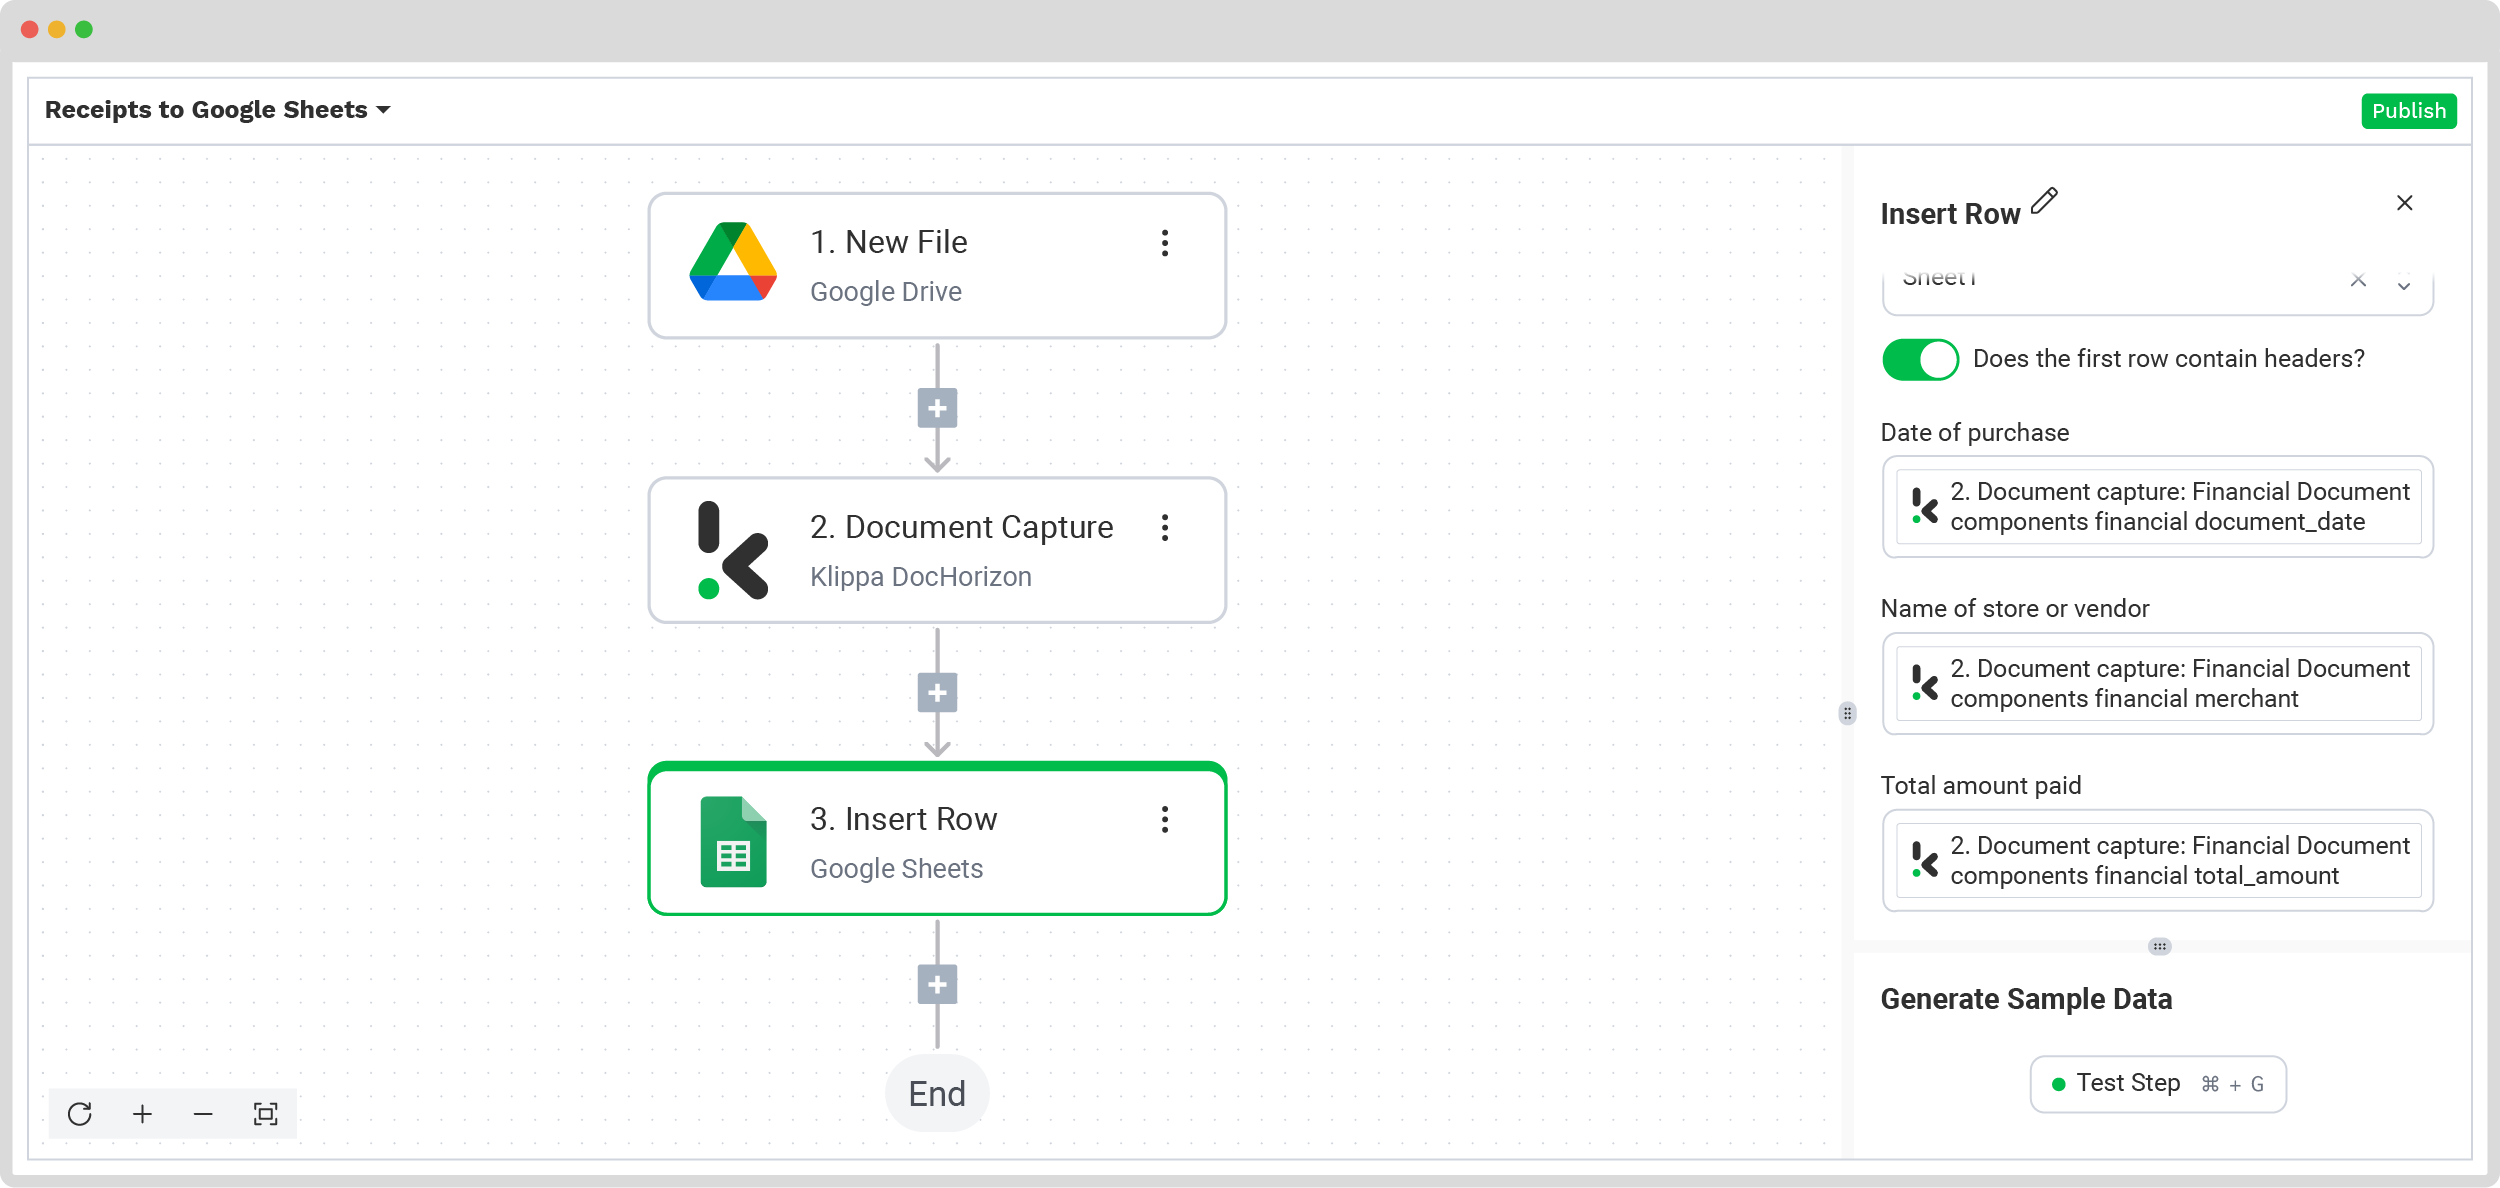
Test this step by clicking the button at the right bottom, and you’re all set!
Congratulations! All the receipt data is now available in your Google Sheet. With this setup in place, you can publish the flow, and any new receipts added to the folder will be processed automatically. That’s how you can save time while ensuring accuracy in your workflows.
Why Should You Use Klippa to Convert Receipts to Google Sheets?
Looking to save your receipts in Google Sheets, Excel, JSON, and more? We’ve got you covered! With Klippa DocHorizon, an advanced intelligent document processing platform, you can easily automate any of your workflows. By leveraging Klippa’s advanced module, you can set up a seamless workflow tailored to your needs:
- Data extraction OCR: Automatically extract data from any type of receipt.
- Human-in-the-loop: Ensure almost 100% accuracy with our human-in-the-loop feature, allowing internal verification or support from Klippa’s data annotation team.
- Document conversion: Convert receipts in any format – such as PDF, scanned images, or Word documents – into various business-ready data formats, including JSON, XLSX, CSV, TXT, XML, and more.
- Data anonymization: Protect sensitive information and ensure regulatory compliance by anonymizing privacy-sensitive data, such as personal information or contact details.
- Document verification: Authenticate documents automatically and identify fraudulent activity to reduce the risk of fraud.
At Klippa, we value privacy, that’s why all of our document workflows are compliant with the HIPAA, GDPR, and ISO standards, ensuring secure data processing. With peace of mind about data safety, take the next step and streamline your receipt to Google Sheets workflows.
If you’re interested in automating your workflow with Klippa’s intelligent document processing solution, don’t hesitate to contact our experts for additional information or book a free demo!
FAQ
Free tools can handle basic PDF to Google Sheets conversions but often struggle with complex layouts, bulk processing, and ensuring data accuracy, making them less suitable for advanced workflows.
Yes, bulk PDFs can be converted to Google Sheets at once using tools that support batch processing. Premium solutions often provide this feature, enabling efficient handling of large volumes of documents with minimal effort.
Yes. Klippa offers a free trial with €25 in credits, allowing you to explore the platform’s features and capabilities before deciding.
Absolutely. Klippa complies with global data privacy standards, including GDPR. Your data is encrypted, securely processed, and never shared with third parties without your consent